Advanced Tutorial - Using the Inset Zoom
The Insert | Inset Zoom
command ![]() allows you to magnify
a graph or any portion of the plot page. This type of inset is similar
to changing the zoom level of the screen.
allows you to magnify
a graph or any portion of the plot page. This type of inset is similar
to changing the zoom level of the screen.
To open a sample file and draw an inset zoom:
-
Click the File | Open command.
-
Navigate to C:\Program Files\Golden Software\Grapher\Samples, select polar class scatter.grf and click Open.
-
Click the Insert | Inset Zoom command
 .
. -
The cursor changes to
 .
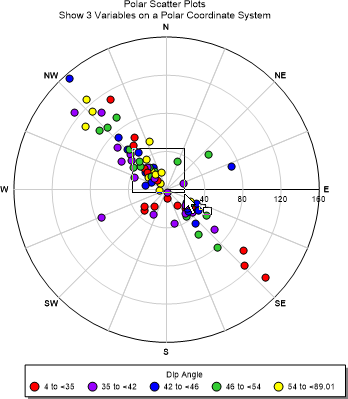
Left-click and drag to define an area to zoom in on.

-
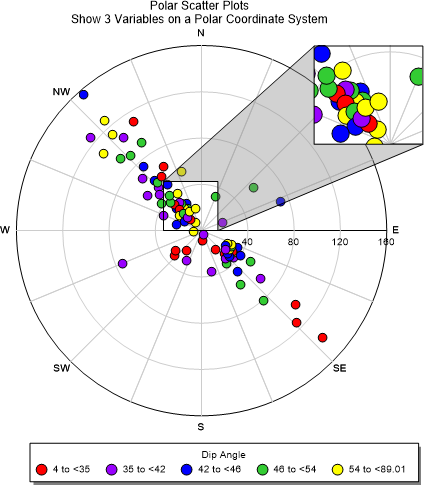
Release the cursor and the inset zoom is created with the default settings. An Inset Zoom 1 object is added to the Object Manager.

-
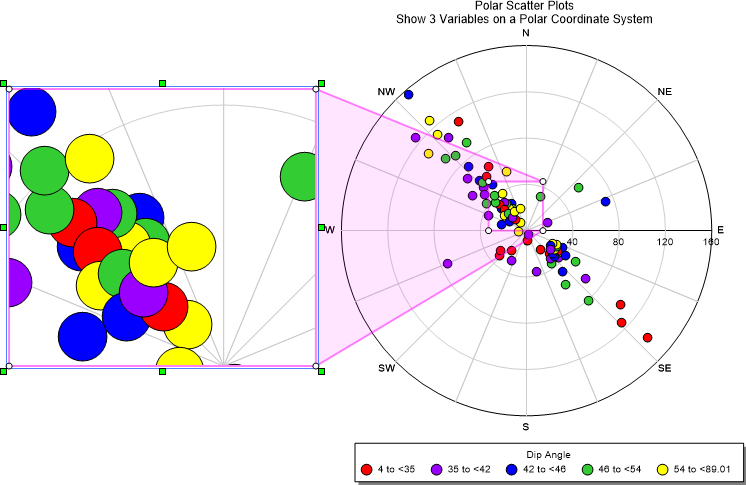
Select the Inset Zoom 1. In the Property Manager, click the Magnifier tab to display the magnifier properties. The Selected box is Zoomed area box by default. The zoomed area box has six green boxes surrounding it in the plot window, indicating it is selected. Left-click the zoomed area box and drag it to a new location.
-
Drag the lower right green box and drag the cursor to resize the zoomed area box.

-
In the Property Manager, click the Line tab to display the lines properties.
-
Click the
 to the
left of Zoom Box to
expand the zoom box section.
 -
Next to Width, type 0.03 in and press ENTER.
-
Next to Color, click Black to open the color palette. Select Magenta. The color palette closes and the lines update to the new color.
-
Next to Opacity, enter 50% and press ENTER.
-
In the Property Manager, click the Fill tab to display the fill properties, and expand any sections as needed.
-
Next to Foreground color, click 50% Black to open the color palette. Select Magenta. The color palette closes and the lines update to the new color.
-
Next to Foreground opacity , enter 10% and press ENTER.

Back to Tutorial Introduction